
A house with tired gutters will tell on you. It starts quietly: a little spill over the edge during a heavy rain, a dark line on the fascia, a patch of moisture on the basement wall that comes and goes. By the time you see peeling paint or soft spots in the soffit, you are losing a race against water. I have replaced gutters on small bungalows and sprawling colonials, and the pattern repeats. Good gutter maintenance buys years, but when replacement is due, doing it cleanly and methodically keeps water where it belongs and protects your siding, foundation, and landscaping.
This overview walks you through the decision points and the installation flow that professionals use. It mixes practical know-how with judgment calls you only learn on ladders, handling 40-foot runs of aluminum in a crosswind. The goal is not to turn you into a contractor overnight, but to give you enough clarity to plan, budget, and either work with a crew or tackle a manageable DIY job.
Signs you are beyond patchwork
Gutter repair has its place. You can reseal a miter, rehang a sagging span, or swap a crushed downspout elbow in an afternoon. Replacement becomes the smarter move when the fixes stack up and the system’s flaws compound. Look for seams that reopen every season, a run that bellies no matter how you adjust hangers, or widespread corrosion in steel gutters. If you see water streaks down the fascia despite clean channels, the profile or capacity may be mismatched to your roof area. I have seen 4-inch K-style gutters on a steep 1,800-square-foot roof shed water like a firehose, and they simply could not keep up. In those cases, widening to 5-inch or 6-inch and adding downspout capacity solved the problem.
Another cue is fascia condition. If the board behind the gutter shows rot along most of a side, you cannot attach new hangers to punky wood. Factor replacement of fascia and sometimes drip edge into the project. It is nonnegotiable if you want your gutter services to last.
Choosing materials that actually fit your house
Material choice shapes cost, longevity, and how much you will worry about dents or seams. Aluminum remains the workhorse. It resists rust, comes in many colors, and can be rolled on-site in seamless lengths. For most homes, 0.027-inch or 0.032-inch thick aluminum in K-style is the sweet spot. In climates with heavy snow slide or frequent ladder use, 0.032 holds up better to abuse. Steel gutters carry more weight and can take a beating, but if the coating chips, rust creeps in. Copper looks beautiful and can outlast most roofs if installed with care, yet the price lands in a different league, and theft is a concern in some areas.
Vinyl shows up in big-box stores because it is easy to handle, but joints expand and contract with temperature swings, and seals tend to fatigue. I only recommend it for small accessory buildings or as a truly temporary fix. Seamless aluminum K-style in 5-inch for typical roofs and 6-inch for larger or steeper surfaces is the default for a reason. Half-round gutters belong on certain historic homes and perform well with proper sizing, but they require specific hangers and often more downspout capacity to equal a K-style’s throughput.
Unless you have a special reason, go seamless. Every seam is a future maintenance point. Seamless runs up to 50 to 60 feet are common with a portable machine. For longer facades, plan an expansion joint or split the run with opposing slopes and a central downspout.
Sizing the system: roof area, pitch, and rainfall
Rule-of-thumb sizing misses key variables. The effective roof area feeding each gutter section dictates capacity. Measure the horizontal run and the slope length for each roof plane that drains to a given gutter. For steep roofs, multiply the plan area by a pitch factor. A 9/12 pitch roof can increase the effective catchment by roughly a third compared to a low-slope roof. Match that to local rainfall intensity, not just annual averages. A short, intense storm is what pushes a gutter over the edge. Municipal design tables or a local contractor can tell you the five-minute peak rainfall intensity in your area. In regions with frequent downpours, a 6-inch gutter with 3x4-inch downspouts often prevents overflow that a 5-inch with 2x3-inch downspouts cannot handle.
Downspout spacing matters more than homeowners think. Spreading outlets roughly every 30 to 40 feet is a baseline for 5-inch gutters in moderate rainfall. For long runs or sections that collect multiple roof planes, add outlets or upsize the downspouts. If you prefer fewer downspouts for aesthetics, you must compensate with larger sizes and careful slopes. Water does not care about curb appeal when gravity is at work.
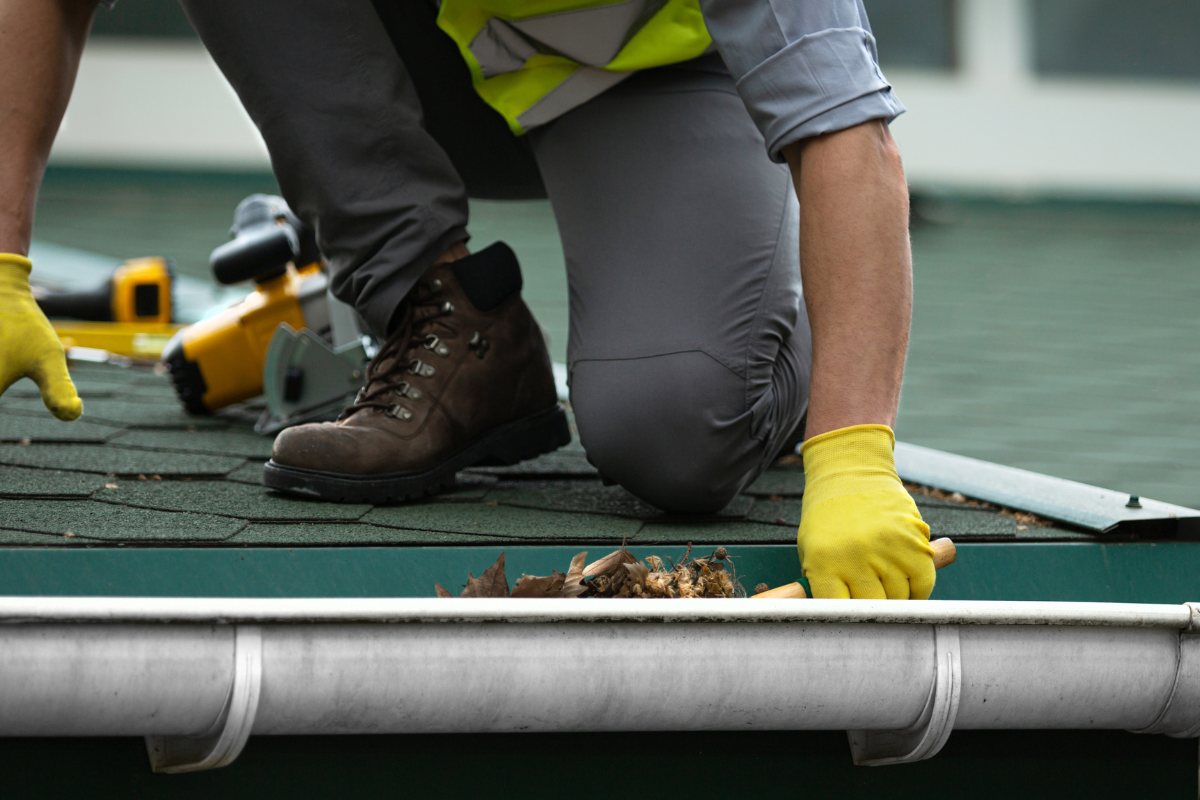
The quiet work before the ladder goes up
Preparation sets the tone for a clean replacement. Walk the perimeter and note any tree limbs overhanging the roof. Heavy leaf fall justifies leaf protection later, but for now it hints at debris loads. Check fascia boards with a pick or awl in several spots, especially under old gutter seams or below roof valleys. Look at the drip edge. If it is missing or tucked under an older gutter, plan to install a new one. Drip edge should sit atop the fascia and overhang the back of the gutter so water cannot sneak behind.
Map your downspouts early. You want outlets where water can discharge onto splash blocks, into extensions, or into an underground drain that exits away from the foundation. Avoid dumping water near walkways that ice up in winter or beside planting beds that erode. If you are tying into existing buried drains, verify they are clear. Nothing undoes gutter replacement faster than connecting new downspouts to clogged pipes.
On two-story homes, identify anchor points for ladder stabilizers and, if needed, safety lines. Do not lean a ladder directly on aluminum gutter. A stabilizer at the top makes life easier and protects your new work.
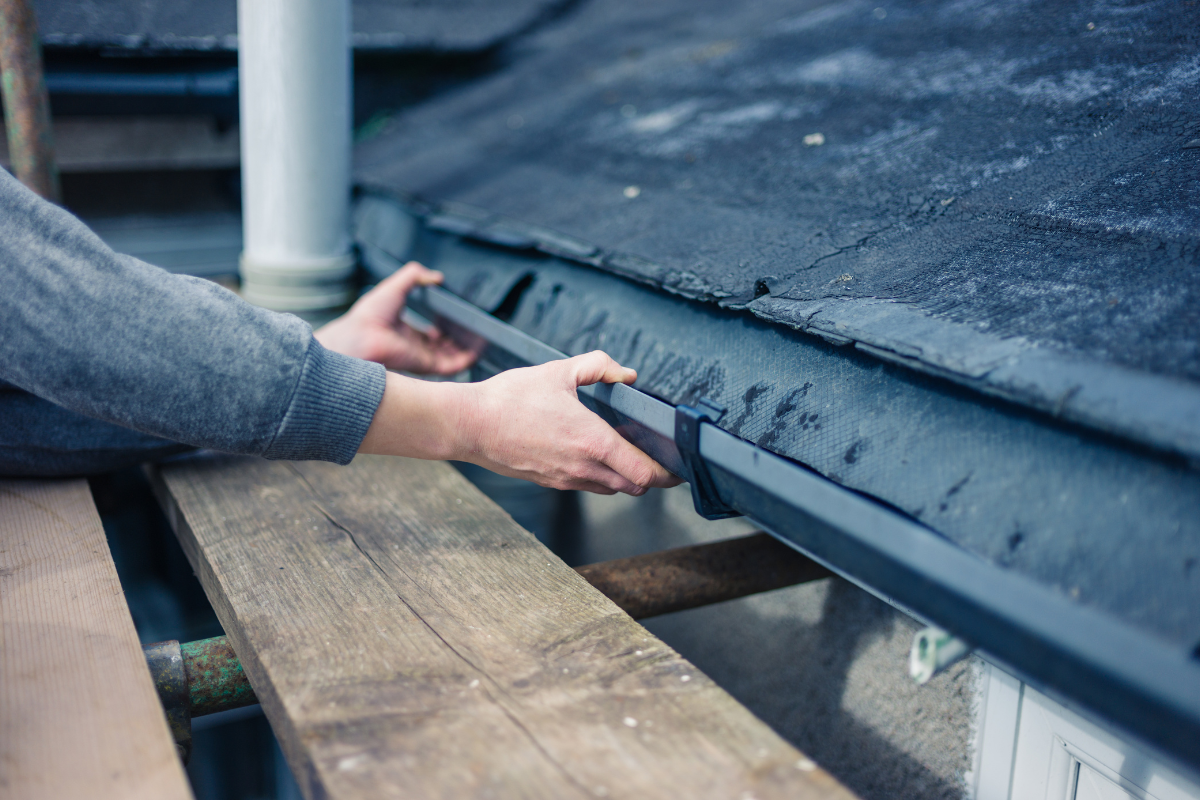
How to remove old gutters without creating new problems
Removal is straightforward once you respect how the old system is fastened. Spike-and-ferrule gutters withdraw with a long pry bar and patience. Work near the spike, not in the middle of the span, to avoid bending fascia. Hidden hangers release by backing out screws along the top front edge. For mitered corners, cut the section on one side of the joint if it refuses to budge, then peel it away. Downspouts usually hang on straps or brackets. Loosen the straps, unscrew the top elbow at the outlet, and drop the stack in sections to the ground.
Expect sealant residue at corners and outlets. Scrape gently to avoid gouging paint, then wipe with mineral spirits if needed. This is when hidden damage shows up. Any soft fascia should be cut back to solid wood and replaced. Take the time now. Installing new gutters on compromised substrate leads to sagging and leaks even with perfect technique.
Slope and layout: small numbers, big consequences
The correct fall looks almost flat to the eye. Aim for roughly 1/16 to 1/8 inch of drop per foot toward each downspout. On a 40-foot run sloping to one outlet, that is 2.5 to 5 inches of total drop. Both slopes work. The difference is capacity and depth at the outlet. A steeper slope sheds water faster but makes one corner look lower. On high facades visible from a street, split the run and slope toward two downspouts to keep lines visually even.
Snap a chalk line to mark the back edge height along the fascia, starting with the high end just below the shingle drip line. Remember to account for the thickness of the gutter’s back edge and the hanger profile. Check for dips in the fascia. If the board waves, your line gives you a straight reference, but you might need to shim hangers to keep the gutter straight.
Hangers and fasteners that stand up over time
Hidden hangers with long structural screws outperform spikes in most cases. They distribute load and resist pullout when ice or debris weighs down the run. Place hangers every 24 inches for 5-inch gutters. Tighten that to 18 inches in snowy regions or on 6-inch gutters that carry more water. Add hangers within six inches of each end cap and each side of a miter. Use stainless or coated fasteners that will not react with aluminum.
For half-round gutters, expect wrap-around or rod-and-nut hangers. They take more time to install but hold better under sliding snow. Always predrill through harder woods to prevent splitting.
Corners and seams: where leaks love to start
Inside and outside miters are stress points. Preformed strip miters with a quality, neutral-cure sealant and rivets hold up longer than relying on sealant alone. Lap seams in the direction of water flow. On long walls where two seamless sections must meet, make a telescoping slip joint using a union connector, or overlap with an expansion gap covered by a cover plate. Metals expand and contract. A solid seam on a hot wall can pop or crack sealant by winter.
Use sealant rated for exterior aluminum, not generic silicone from a bathroom tube. It needs UV stability and flexibility. In cool weather, warm the sealant tube so it flows and bonds well. Wipe clean and dry surfaces before sealing. It sounds fussy, but a careful five minutes here prevents hours of gutter repair later.
Outlets and downspouts: moving water to the ground safely
Punch or cut outlets cleanly before hanging the run, if you can reach comfortably, or mark and cut carefully in place with a hole saw or snips. Crimp the outlet to sit flush, then rivet and seal around the flange. For high-capacity sections, rectangular 3x4-inch outlets move nearly twice the water of 2x3-inch. Pair the outlet size with the downspout all the way to the ground. Do not bottleneck a 3x4 outlet with a 2x3 downspout because that undoes your capacity gain.
Downspouts bend to meet the wall with two or three elbows depending on the soffit depth. Keep the path as straight as possible. Long runs take more brackets, generally every 8 to 10 feet, with a bracket near each elbow. Avoid strapping downspouts directly over siding joints. Hit solid framing or use appropriate anchors in masonry. At grade, extend at least 4 to 6 feet away from the foundation. In clay soils or areas with poor surface drainage, longer is better. If you connect to a buried drain, include a cleanout at the base of the downspout. Leaves and shingle grit migrate. You want a way to clear them without digging.
The install flow at a glance
- Remove old gutters and downspouts, repair fascia and install or replace drip edge. Plan slopes, snap lines, and pre-cut outlet holes and hanger placements. Hang new gutters starting at the high end, fasten hangers on layout, seal and rivet corners. Install downspouts with proper brackets, elbows, and ground-level extensions or drains. Water-test, adjust slopes, and seal any weeping joints. Clean up metal shavings and debris.
That sequence looks simple on paper. On site, you juggle ladder moves, long sections, and small adjustments that add up to a neat, functional line. Two sets of hands make a world of difference when lifting a 40-foot section. If you are working alone, work in shorter segments with a splice, or rent stands that hold the gutter as you fasten hangers.
Leaf protection: when and what to choose
Gutter guards are not magic. They trade gutter maintenance for guard maintenance, but the right product saves time and prevents clogs in the downspout neck. Micro-mesh systems keep out small debris and shingle grit better than helmet-style covers, though they can ice over in winter climates and need occasional brushing. Solid covers shed leaves well but can overshoot water on steep roofs or during intense rain unless sized and pitched correctly. If you only have one maple dropping leaves for a few weeks a year, simple screens you clip in place may be enough.
Install guards only after you verify slope and seals are right. Guards hide problems until they are expensive. In heavy pine country, choose a system that you can lift for cleaning without destroying the panels. Budget for periodic service. Even the best guards benefit from an annual rinse and check.
What a quality install looks and feels like
Stand back 30 feet and sight along the gutter line. It should be straight, with a subtle heel-toe drop toward outlets. Corners align cleanly, with no gobs of sealant visible. End caps sit flush, not proud of the profile. Downspouts are plumb and fastened, not rattly or buckled. Water from a hose poured on the roof flows, collects, and exits without spills at midspan.
Run water longer than a minute. Once the system fills, weaknesses show. Look for weeping at seams, especially around outlets and inside corners. If water sheets behind the gutter, check the drip edge overlap. If water leaps over the front lip in one spot, you may need a diverter above a steep valley or to adjust hanger tension to create a slightly deeper pitch.
Common mistakes that cause callbacks
Hangers spaced too far apart let the front lip tilt and dump water in storms. Gutters hung too high behind the drip edge trap water, which then wicks into fascia. Notching the shingle or tucking the back edge under the felt is a red flag. Improper outlet sizing is another. I have seen long back-yard runs with a single small downspout at the far end. In a downpour, the whole length becomes a trough and then a waterfall over the midspan. Split the run or add an outlet near the middle.
Elbows assembled the wrong way leak at the seams when water pushes through them. The crimped end should always face downstream so water flows over, not under, the seam. Brackets or straps attached only to siding sheathing, not framing, will loosen over time. Fasteners driven at odd angles warp the gutter profile and create low spots. In winter climates, placing downspout outlets where roof avalanches land creates smashed elbows by February. Slide the outlet a few feet out of the fall line if you can.
Budgeting honestly: costs, timelines, and DIY vs pro
Prices vary by region, home height, and material. For seamless 5-inch aluminum with standard downspouts, homeowners often see installed prices in the range of 8 to 14 dollars per linear foot in many markets, higher for 6-inch or for complex roofs with many corners and drops. Copper can run several times that. Add costs for fascia replacement, drip edge, and leaf guards. A typical one-story ranch with 150 to 200 feet of gutter might fall between 1,500 and 3,000 dollars with aluminum, not including guards. Two-story homes add labor for access and safety.
DIY saves on labor but adds tool rental and safety gear. Renting a portable gutter machine usually is not practical for a single house, so DIY often means sectional gutters from a store with more seams and potential leak points. It can make sense for a detached garage or a small addition. For a whole house, a pro crew brings speed, the right equipment, and fewer joints. Good gutter services also warranty their work, typically for a few years on labor and longer on material finish.
Scheduling is weather-dependent. Avoid installing in freezing temperatures where sealants will not cure properly. A competent crew can remove and replace gutters on an average single-story home in a day, two days if fascia work is extensive. Ask the crew to stage removal so the house never sits without gutters ahead of a storm. Working one side at a time keeps you protected.
Maintenance that keeps new gutters new
New gutters still require attention. Debris accumulates at outlets first. A seasonal check in spring and fall covers most homes, more often under heavy tree cover. Look and listen during storms. Overflow tells you where to intervene. Touch up sealant at weeping seams before winter. Check screws at hangers and brackets annually and snug any that back out. Downspout extensions shift over time. Keep them aimed and intact. If you have leaf guards, rinse them lightly with a hose when pollen mats in late spring or after a windy leaf drop.
Think of gutter maintenance as small, regular steps that prevent bigger gutter repair later. A 20-minute check after a hurricane remnant passes through is time well spent. If you see grit piles at downspout outlets, your shingles are shedding and may be nearing the end of their life. Gutters catch these early hints if you pay attention.
A note on aesthetics and details that make you smile
Color-matched gutters blend into the trim and disappear, which is the point for most homes. Downspout placement that respects window lines and avoids awkward zigzags looks intentional. On brick, use matching masonry https://edgarebyd783.image-perth.org/replacing-box-gutters-challenges-and-solutions anchors and neat bracket spacing. On wood, seal any penetrations. For historic homes, half-round with round downspouts and cast-look brackets can elevate the facade while performing well if sized correctly.
Do not be afraid to add small upgrades that earn their keep. Splash blocks that do not creep, hinged extensions you can flip up for mowing, cleanout baskets at underground drain connections, and snow guards on metal roofs where avalanches have flattened downspouts in the past. These are details born from experience and they pay back in fewer headaches.
When replacement reveals deeper issues
Sometimes gutters are not the root problem. If water consistently overshoots even well-sized gutters under ordinary rain, look up. Short shingles or an aggressive drip edge angle can sling water forward. A simple diverter at a valley can tame a concentrated stream. If you find rot behind long stretches of fascia, check attic ventilation and look for ice dam history. Addressing insulation and ventilation reduces ice damming that chews up eaves and gutters. If ground around the foundation is flat or back-pitched, even perfectly working gutters cannot compensate. Regrade or extend discharge points until water moves away reliably.
Here is a compact checklist you can use before you call a contractor or set up ladders yourself:
- Walk the house during a steady rain and note overflow points and splash patterns. Probe fascia for soft spots, and confirm drip edge condition and placement. Map downspouts with an eye for discharge paths and any buried drains to reuse. Measure roof planes feeding each run to right-size gutters and downspouts. Decide on material and profile, balancing budget, rainfall intensity, and appearance.
Bring this checklist to any estimate meeting. Clear inputs lead to better quotes and cleaner installs.
Working with contractors without friction
A good estimator will measure, discuss your rainfall and roof pitch, and explain why they recommend 5-inch or 6-inch, how many downspouts, and where. Ask how they seal corners, what hangers they use, and spacing. Listen for specifics, not platitudes. Request a line-item quote that separates gutter replacement, fascia repair, and optional leaf protection. Short warranties are not a dealbreaker if the firm has a solid local reputation, but a five-year labor warranty signals confidence.
On install day, expect noise, metal offcuts, and ladders shifting. A neat crew stages materials, picks up screws and shavings with a magnet, and water-tests their work. If you see them adjusting slopes after the first hose test, that is not a red flag. It is how you dial in a perfect run.
The quiet payoff
A properly sized, well-installed gutter system disappears into the background. During a sideways summer storm, you will hear downspouts working, not the drumming of water pouring over edges. The basement stays dry, the mulch stays put, and the paint on your fascia lasts. That is the measure of a good replacement.
Treat gutters as part of the water management chain, not an afterthought. Choose materials that match your climate and home, size the system with a nod to peak rainfall, and insist on careful installation. Add steady gutter maintenance, and you can forget about them again for a long time, which is the highest compliment a gutter can earn.
Power Roofing Repair
Address: 201-14 Hillside Ave., Hollis, NY 11423
Phone: (516) 600-0701
Website: https://powerroofingnyc.com/